Know Your Experience Level
“Beginner,” “intermediate,” and “advanced” might sound self explanatory, but on the trail, those words carry real weight. A beginner isn’t just someone new to hiking it’s someone building endurance, learning pacing, and figuring out how to read terrain. Think under 5 miles, less than 500 feet of elevation gain, and well marked paths. Intermediate hikers can handle longer distances, moderate climbs (1,000 2,000 ft gain), and more rugged terrain like rocks, roots, and stream crossings. Advanced means steep grades, technical sections, high altitudes, or multi day treks with a heavy load.
Elevation gain changes the game fast. A 4 mile trail with 1,500 feet of vertical isn’t “easy” just because of mileage. If it climbs straight up without switchbacks or worse, is layered with rough terrain that short trail becomes a leg burner. Trail surface matters too: loose gravel, deep mud, or exposed ridgelines add complexity.
The most common mistake? Overrating your ability based on gym fitness or flatland walking. Trail fitness is its own thing. Many folks grab a trail rated “moderate” without checking the specifics only to find themselves winded, dehydrated, or turning back early. Avoid that. Study the map, read reviews, and stack your experience slowly. There’s no rush and stepping into the right level now keeps you on the trail longer, stronger, and loving it.
Define Your Trail Objective
Not all hikes need to be a test of endurance or a mountaintop moment. Picking the right trail starts with knowing what you’re out there for. If the goal is fitness, lean into elevation and pace look for loops or uphill grinds that keep your heart rate up. Scenic wanderer? Prioritize trails with viewpoint payoffs or diverse landscapes over raw distance. Want to hone skills? Technical terrain like rock scrambles or water crossings can teach a lot fast.
The type of trail matters. Loops are efficient and mentally satisfying you don’t have to retrace your steps. Out and back routes, though, usually offer more flexibility in terms of how far you actually go. Day hikes keep logistics simple. Multi day? You’ll need planning, gear, and some tolerance for discomfort.
Also: don’t ignore real world constraints. That includes available time, weather conditions, and how many daylight hours you’ve got. A loop that sounded easy on paper can turn into a rushed, dusk drenched panic if you didn’t check sunset times. Build in buffer. Nature doesn’t care about your ETA.
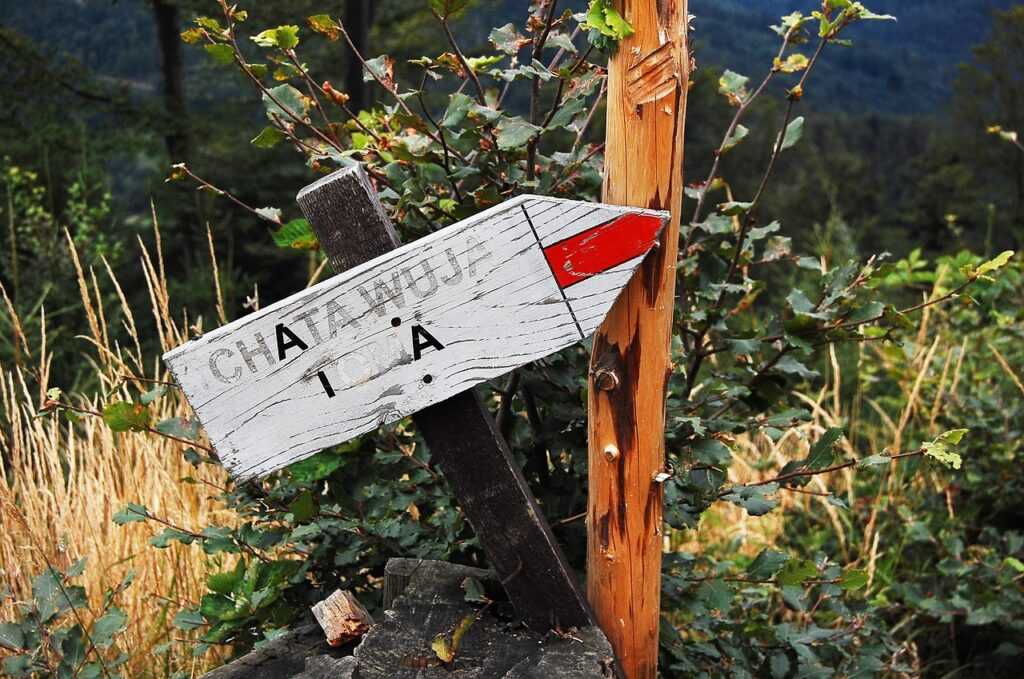
Learn to Read Trail Maps Like a Pro
Trail maps aren’t just decor. If you know how to read one, you’ve already got the edge. Start with the basics: topographic lines = elevation changes. The closer together they are, the steeper the grade. Symbols mark things like campsites, water sources, and crossings you don’t want to guess those mid hike. And distance? Trust the legend. Don’t eyeball it unless you want a surprise detour.
Once you’ve got the layout down, think about your objective. Loops are efficient no backtracking, often faster but sometimes that out and back route delivers a better payoff, like a summit or waterfall. Know what you’re trading.
Smart hikers also prep the what ifs. Pin a bailout route if weather kicks up or you’re not feeling it halfway in. Mark junctions where you can pivot based on time or energy. Even if you never use them, knowing your exits means you’ve already cut your risk.
Want a full breakdown? Read up on trail map reading to sharpen your skills before your next trek.
Trail Ratings Are Only Half the Story
Trail ratings are guidelines, not gospel. What’s labeled “moderate” in one state might feel punishing somewhere else. A Colorado trail rated moderate could include 2,000 feet of elevation gain at altitude, thin air, and scrambles over granite slabs. Meanwhile, a moderate trail in the Midwest might be a steady uphill stroll through wooded hills. The rating alone won’t tell you the full story you need the fine print.
This is where conditions matter. Look at more than grade and mileage. How rocky is the trail? Is there loose shale, slick boulders, or ankle twisting roots? Exposure plays a role too some trails are narrow paths clinging to steep drop offs. Add stream crossings, mud, or snowpack and a simple day hike can become a full body challenge.
Want the best read? Skip the sanitized blurbs and dig into hiker reviews. Most people don’t hold back. They’ll tell you if that “easy loop” turned into a knee pounding descent or if the overlooks were worth the push. First hand reports are raw, current, and way more useful when sizing up a trail for your skill level.
Choose Gear Based on the Trail, Not Just the Season
Gear choice isn’t just about checking the weather app. Trails with quick elevation changes, rocky stretches, or limited shade need more than standard issue basics.
For mixed terrain, pack with versatility in mind. Layers that breathe uphill and insulate downhill. Lightweight gloves and a hat even in summer. A trekking pole or two if your knees aren’t in love with long descents. On rapid elevation trails, hydration systems that let you sip without stopping can be a game changer. Oxygen thins fast; your pace will too.
If you’re heading into minimal coverage zones think exposed ridgelines or desert trails sun protection isn’t optional. Long sleeves, high SPF, and extra water capacity matter more than you’d think. Heat exhaustion can sneak up fast when there’s no tree cover to duck under.
The difference between a light hike and a technical slog often shows up in your pack weight. For easy day trails, a small hydration pack or waist belt will do. If you’re tackling something more vertical or remote, a framed pack with room for layers, food, and emergency gear becomes non negotiable.
Now, footwear: get this wrong, and nothing else matters. Trail runners may handle moderate trails fine, but they’ll fold on steep, loose rock. If you’re going technical, go with real hiking boots preferably broken in. Good soles and ankle support can be the line between hiking out or limping back.
Bottom line: match gear to the trail, not just the temperature or trend. The right setup keeps you light, protected, and moving forward no matter what the path throws at you.
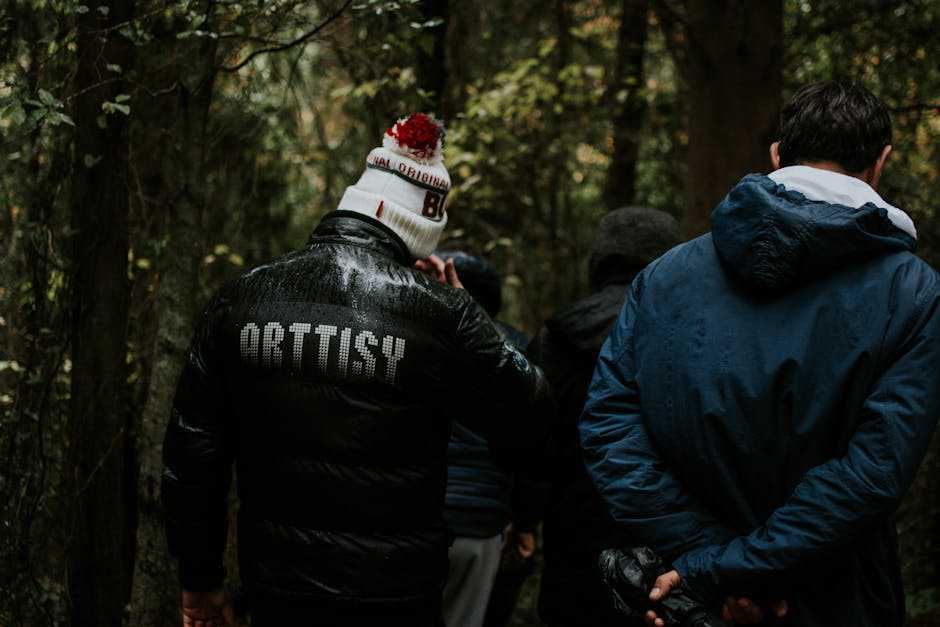
Don’t Go It Alone on Tougher Trails
Some trails just aren’t meant to be solo missions. If you’re heading into remote terrain, dealing with unpredictable weather, or tackling long distances with serious elevation, it’s smart to bring a trail partner or hire a local guide who knows the region. They won’t just offer support they’ll help you spot risks you might miss.
On higher risk hikes, safety protocols aren’t a bonus they’re a baseline. Bring a physical map and a backup power bank. Check weather trends, not just day of forecasts. Know your exit points and have backup routes mapped out before you lace your boots. And don’t leave your plan in your head. Take a screenshot of your route, drop a pin, or jot notes on a map but make sure someone not on the trail knows your itinerary and expected return time. If you’re overdue, they’ll know when and where to raise the alarm.
Too many hikers blow past this part and pay the price. Getting lost happens faster than most expect especially when signal drops or time runs long. Learn to read trail maps properly, not just glance at them. It could mean the difference between a long day and a bad night. Start smart by mastering trail map reading.
When in Doubt, Go Lower and Shorter
Scaling Back Isn’t Failing
Even the most experienced hikers know when to turn back, change plans, or choose a lower elevation trail. It’s a sign of smart decision making not weakness. Mountain weather, energy levels, or time constraints can flip a “fun challenge” into an unnecessary risk fast.
Signs You Might Want to Downshift:
You’re making slower progress than expected
Weather is worsening or visibility is poor
You’re questioning your pace, footing, or endurance
You’re running short on time before sunset
Build Skills by Starting Small
Hiking is like any other skill: consistency and incremental challenge lead to lasting confidence. Tackling trails just outside your comfort zone not far beyond lets you improve without burning out.
Why Smaller Hikes Still Deliver:
Great for testing new gear and trail techniques
Lower stakes = more room to focus on navigation and pacing
You’re more likely to finish strong and return again soon
Safe, Energized, and Satisfied
The best trail experiences are ones that leave you excited not exhausted. There’s greater value in finishing a moderate hike with energy than dragging through a too tough one just to say you did it.
A strong finish means:
You enjoyed the scenery and presence, not just the struggle
You kept your body safe from overexertion or injury
You’ll want to get out again sooner rather than later
Choosing wisely today helps you go bigger tomorrow with confidence and a solid foundation.