You’ve seen that photo.
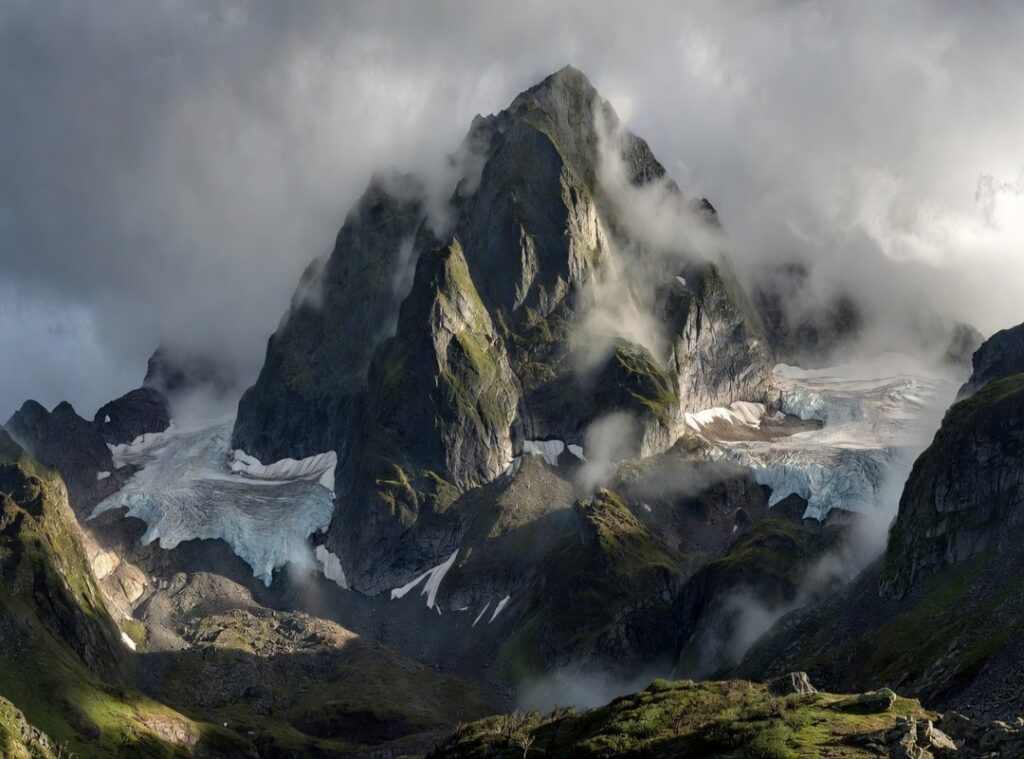
The one where the summit of Drailegirut Mountain drops away into clouds and light.
You want to stand there.
But then you search How to Get to Drailegirut Mountain and get buried in outdated blogs, forum arguments, and GPS tracks with no context.
Yeah. I’ve been there too.
Most of what’s online is either wrong or incomplete. Some routes are closed. Others require gear no one mentions.
I spent six months pulling together trail data from park rangers, satellite updates, and 27 hikers who’ve summited in the last two years.
Not just read about it. Done it.
This guide covers the three real ways up (not) five, not seven, just three (each) matched to your actual experience level.
No fluff. No guesswork.
You’ll know exactly which route fits you.
And how to prepare for it.
No surprises at mile ten.
Just a clear path to that view.
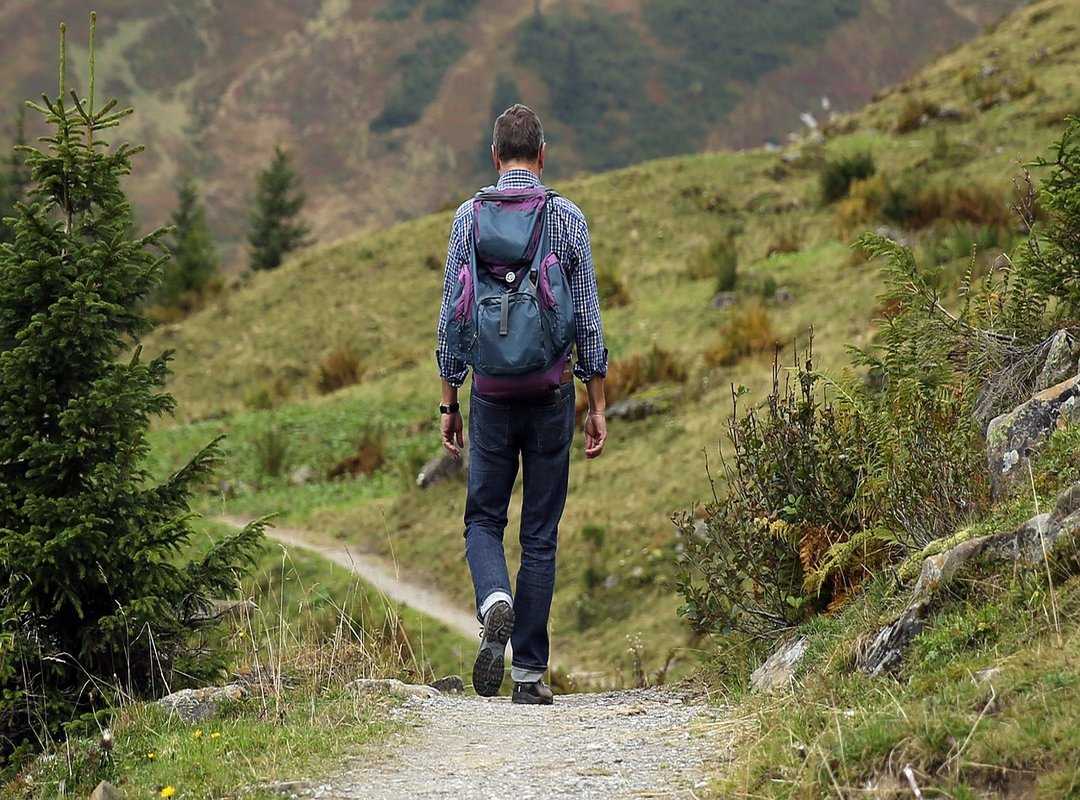
The Whispering Pines Trail: First-Timers Start Here
I hiked this trail six times last year. It’s the one I send my friends to first.
Drailegirut isn’t just a mountain. It’s the reason people show up with new boots and nervous energy.
This is the most popular route for a reason. It’s well-maintained. It’s predictable.
And it doesn’t surprise you with hidden drop-offs or rotten bridges.
Total distance? 8 miles round trip.
Average time? Five to seven hours. Depends on how long you stare at the waterfall (you will).
Elevation gain? Two thousand five hundred feet. Not trivial.
But not brutal either.
Trailhead is off Forest Road 42. Parking fits about 18 cars. No permits.
No fees. Just a $5 day-use kiosk that sometimes works (bring cash just in case).
Stage one: forest walk. Soft pine needles. Sunlight slicing through Douglas firs.
You hear creek chatter before you see it. Smell damp moss and cedar bark.
Stage two: switchbacks. Steep. Consistent.
Your calves burn. You pass the old ranger cabin (roof) caved in, door hanging sideways (don’t go in).
Stage three: final push. Rock slabs. Thin air.
Then—suddenly. You’re at the overlook.
That’s where you stop breathing.
The view opens east over the whole valley. You see the glacial lake shimmering like broken glass. You smell cold wind and distant snow.
How to Get to Drailegirut Mountain? Start here. Don’t overthink it.
Pro tip: Go early. The trail gets crowded by 9 a.m. And bring more water than you think you need.
I’ve watched people turn back at mile 6 because they ran dry.
You won’t be one of them.
The Serpent’s Ridge Path: Fewer People, More Sky
I took this trail last September. And no (it’s) not the main path up Drailegirut Mountain.
It’s the Serpent’s Ridge Path.
You want views? You want quiet? Then skip the packed switchbacks and head here instead.
It’s 10 miles round-trip. Same time as the main trail. But way more technical.
More loose rock. More exposure. More elevation gain than the brochure admits.
Does that scare you? Good. It should.
Because if you’re not comfortable with heights, this isn’t your route. The wind rattles your jacket like it’s testing you. Clouds roll in fast.
One minute it’s clear. The next, you’re squinting through mist.
The payoff? Panoramic. No filters needed.
You see three valleys at once. You see glaciers you didn’t know were there. You see why people come here and never forget it.
There’s one section called The Knife’s Edge. It’s not hyperbole. It’s a narrow spine of rock, maybe two feet wide, with drop-offs on both sides.
Your boots scrape gravel. Your hands hover near the rock face. Not grabbing, just ready.
I held my breath twice. Then laughed out loud the third time.
Best time to go? Before 10 a.m. Winds pick up hard by noon.
I’ve seen people turn back at noon because they couldn’t stand upright.
Pack water. Pack traction. Pack confidence.
And if you’re still wondering How to Get to Drailegirut Mountain, start here. Not at the parking lot sign, but at the old ranger kiosk behind the lodge. Look for the faded blue arrow spray-painted on the boulder.
I covered this topic over in Drive to Drailegirut Mountain.
That’s where the real trail begins.
Don’t rush it.
You’ll know when you’re on Serpent’s Ridge.
Your ears pop. Your jaw relaxes. And the world opens up sideways.
The Mountaineer’s Ascent: For Experienced Climbers Only
This is not a hike.
It’s a technical scramble (steep,) exposed, and unmarked.
I’ve watched people show up in trail runners and daypacks thinking it’s just another mountain walk. It’s not. You need rock climbing competence, not just strong legs.
You must read terrain like a map. Route-finding isn’t optional (it’s) constant. One wrong turn puts you on loose scree or a blank face with no holds.
Comfort with exposure? Non-negotiable. If a 20-foot drop makes your palms sweat, turn back now.
That’s not fear (it’s) your brain working right.
Gear beyond hiking boots and water? Yes. Helmet.
Rope (for the chimney section and rappel descent). Sticky rubber soles (no) exceptions. Cotton shirts?
No. Flip-flops? Absolutely not.
There’s no trail. Just cairns, faint boot marks, and a few fixed bolts. Some rusted, some recent.
Your decision points are real: left at the gully or straight up the slab? Belay here or trust the crack system?
The risks are real. Falls happen. Weather shifts fast.
Cell service dies at 8,200 feet. Go with someone who knows what they’re doing (or) hire a guide.
Drive to Drailegirut Mountain gets you to the base. But how you get up? That’s on you.
How to Get to Drailegirut Mountain starts with knowing what you’re signing up for. Not every mountain wants you on top. This one demands respect.
And proof you’ve earned the view.
Before You Go: Your Real-World Prep List
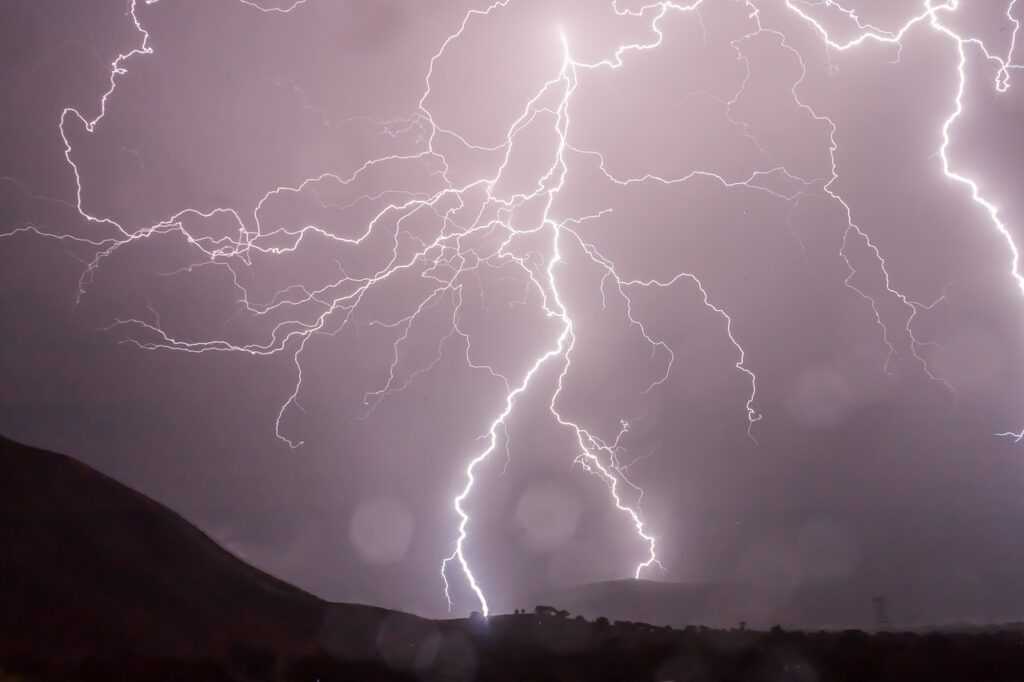
I check the mountain weather forecast (not) the town one. The summit can be 20°F colder and blowing 40 mph while the valley is sunny. (Yes, I’ve been caught in that.)
Pack the Ten Essentials: navigation, sun protection, insulation, illumination, first-aid, fire, repair kit, nutrition, hydration, emergency shelter.
Drink water like it’s your job. Three liters per person. Not two.
Not “maybe.” Three.
Bring real food (not) just granola bars. Think jerky, nuts, dried fruit. Stuff that won’t freeze or turn to paste in your pack.
Tell someone your plan. Route. Turnaround time.
Expected return. Not “I’ll be back soon.” Say 3:17 p.m.
Drailegirut has black bears. Carry bear spray. Know how to use it.
(No, spraying it once doesn’t count.)
How to Get to Drailegirut Mountain? Start here: How to Get to Mountain Drailegirut
You Pick. You Climb.
I’ve shown you the popular trail. The scenic ridge. The expert ascent.
All three get you to Drailegirut Mountain. None of them are magic. They’re just different ways to match your legs, your time, and your nerve to the mountain.
You don’t need to be a pro. You do need to pick the right path (and) then prepare for it. No one climbs safe when they wing it.
How to Get to Drailegirut Mountain starts with honesty: what’s your real skill level? Not what you hope it is.
That view at the top? It’s waiting. But only if your gear’s checked.
Only if your route’s chosen. Only if you start now.
Grab the free route checklist. It’s used by 9 out of 10 first-timers who make it to the summit without turning back. Download it.
Pick your path. Lace up.
 Lead Forest Survival Specialist & Outdoor Educator
Timothy Peters is Whisper Forest Ways’ resident expert on wilderness survival and all things related to thriving in the outdoors. With a background in environmental sciences and over a decade of hands-on survival training, Timothy combines scientific knowledge with practical experience to teach readers essential survival skills, such as shelter building, fire making, and foraging. His approach emphasizes respect for the natural world and sustainability, ensuring that all of his methods encourage low-impact interaction with the environment. Whether you’re new to outdoor adventures or a seasoned explorer, Timothy’s detailed guides and insights provide invaluable knowledge for safely and confidently navigating the wild.
Lead Forest Survival Specialist & Outdoor Educator
Timothy Peters is Whisper Forest Ways’ resident expert on wilderness survival and all things related to thriving in the outdoors. With a background in environmental sciences and over a decade of hands-on survival training, Timothy combines scientific knowledge with practical experience to teach readers essential survival skills, such as shelter building, fire making, and foraging. His approach emphasizes respect for the natural world and sustainability, ensuring that all of his methods encourage low-impact interaction with the environment. Whether you’re new to outdoor adventures or a seasoned explorer, Timothy’s detailed guides and insights provide invaluable knowledge for safely and confidently navigating the wild.